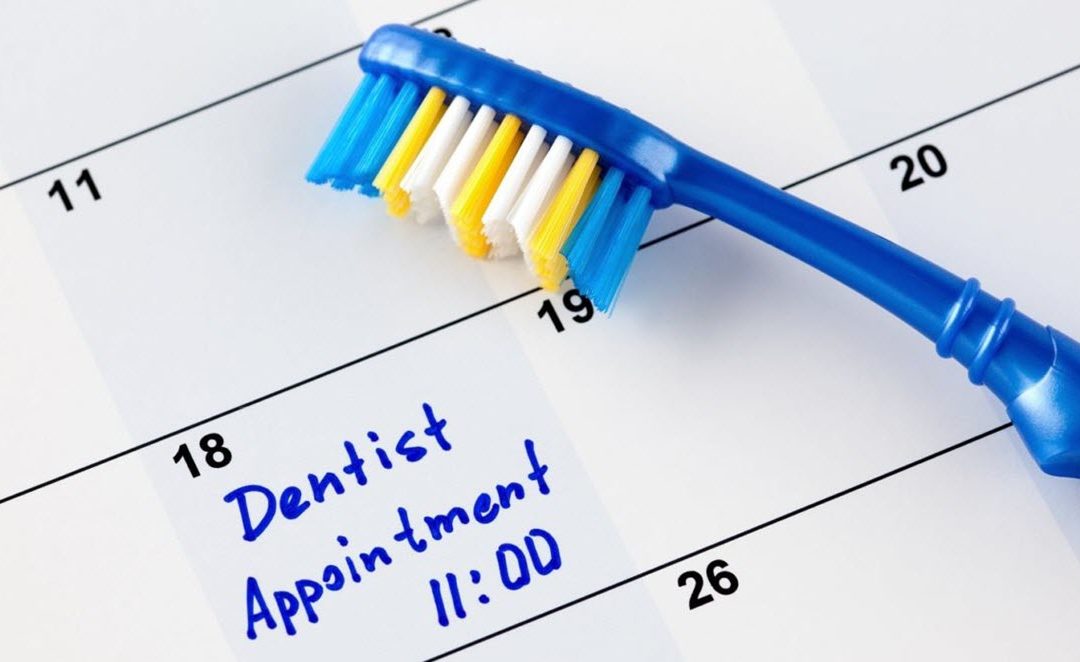
After your office has been closed for an extended period of time, how can you catch up on rescheduling those patients who missed out on their regular cleanings? One strategy is to let your automated recall system through Patient Engage invite them back.
To make this work, you will need to complete two tasks.
- Edit the automated recall messages in Patient Engage so that they invite the patient to reschedule their appointment.
- Delete the scheduled appointment that the patient missed, so that the automated system will send out messages.
Step 1 – Select the Messages
Take a look at your reminder settings. In Patient Engage, click the Settings tab (found on the Dentrix Hub page header). On the left-hand navigation panel, expand Communications, and select Personalized Recall.

By default, these reminders will send to unscheduled patients 2 weeks and 1 week before their due date. If the patient remains unscheduled, additional reminders are sent again 1, 2, 4, 13, 26, and 52 weeks after the due date passes. These messages and intervals can be changed to your advantage, and that is exactly what we will do now.
Before you make changes, realize that at some future time, after your office returns to a pattern of normalcy, you’ll want to restore these settings. So before you edit the time intervals, print or create a screen capture of this web page to have as a reference. Before you edit the text of the messages, select the current message, copy the text, and paste it into a notepad or Microsoft Word document for safekeeping. When the time comes to put things back to normal, you’ll appreciate having that information to guide you!
Step 2 – Edit the Messages
First, we’ll edit and repurpose the message that would normally be sent 13 weeks after the due date was past. Click on the word Email.

Hover your mouse over the main message, and select Click to Edit. Then make wording changes to invite your patients to return following your closure. Tell them about social distancing measures, cleaning and sterilization processes, or other policies you have implemented to ensure a smooth reopening. When you are satisfied with the message, click Save.
Next click Edit to change the timing of the email reminder. Adjust the number of weeks so that the reminders will be sent to the patients whose appointments were bumped at the beginning of your office’s closure (for example, if your closure was for the last 5 weeks, change this setting to 6 weeks). Finally, Save the changes.

Also, edit the messages going out in your 1, 2, and 4 week campaigns, but leave the timelines as they are. If you adjust to this timeline as described, you’ll have several automatic reminders going out each day to patients who were due for recall 1, 2, 4, and 6 weeks before today’s date. Each individual patient that is overdue by 2 weeks or more will only receive a message every 14 days, so they won’t receive messages too frequently to become annoying to them.
With so many emails reaching your patients each day, they’ll be responding at a staggered rate and process of re-booking can happen quicker.
Step 3 – Delete Appointments in Dentrix
Remember that these reminders are only sent to patients who are detected by the system as not being scheduled for their continuing care appointment. So the next step—and probably the most scary-sounding one—is to delete the scheduled appointments from your schedule.
Before deleting, print the schedule for reference. Open Office Manager > Reports > Lists > Daily Appointment List, and select the operatories where you schedule your cleaning appointments. Enter the date range of the closure, and select the Operatory Appointment List or the Daily Appointment List (the primary difference is that the Operatory Appointment List is double-spaced while the Daily Appointment List is single spaced). Print the report(s) to have as a reference.
When it comes to deleting appointments, the slow way is to select each appointment one by one and click the Delete button on the toolbar of the Appointment Book. However, the more efficient way to delete multiple appointments is to use the Appointment List.
At the top of the Appointment Book, click Appt List. Create a view that shows you only the operatories where you schedule cleaning appointments by clicking Setup, Appointment List View. From the Select List menu, choose Appointments. Select the operatories where you schedule cleaning appointments. Click Save List, name it “Cleaning Appts List” and click OK. This will return you to the main Appointment List window.

From the Select List pull-down menu choose the Cleaning Appts List menu item. Use the calendar menu to select the first day your office was closed. Press CTRL+A to select all appointments displayed. Press the Delete key and then confirm the warning message to delete the appointments. Forward your calendar day-by-day, and repeat the process by selecting and deleting the appointments in these operatories for each day of the closure.
Now that these cleaning appointments are removed, the system will recognize that the patients are not scheduled for the services. Day-by-day, as patient due dates fall in line with the campaigns you set up, the patients will receive their email invitations to book their appointment, including the custom messaging you created.
Step 4 – Reset
Make a note to remind yourself to come back to and reset your reminder settings after a couple of months when your schedule begins to normalize.
Sending modified recare due reminders is part of the virtual waiting room you can set up with Dentrix and other integrated tools like Patient Engage and QuickBill eStatements. Visit https://magazine.dentrix.com/setting-up-a-virtual-waiting-room-with-patient-engage/ to read the article and get other ideas.